Getting started
Esta página aún no está disponible en tu idioma.
Get started
Section titled “Get started”- Open the AuthPlus site and choose Create account. Enter your details, then the 6-digit code emailed to you. Passwords are 8 characters or more.
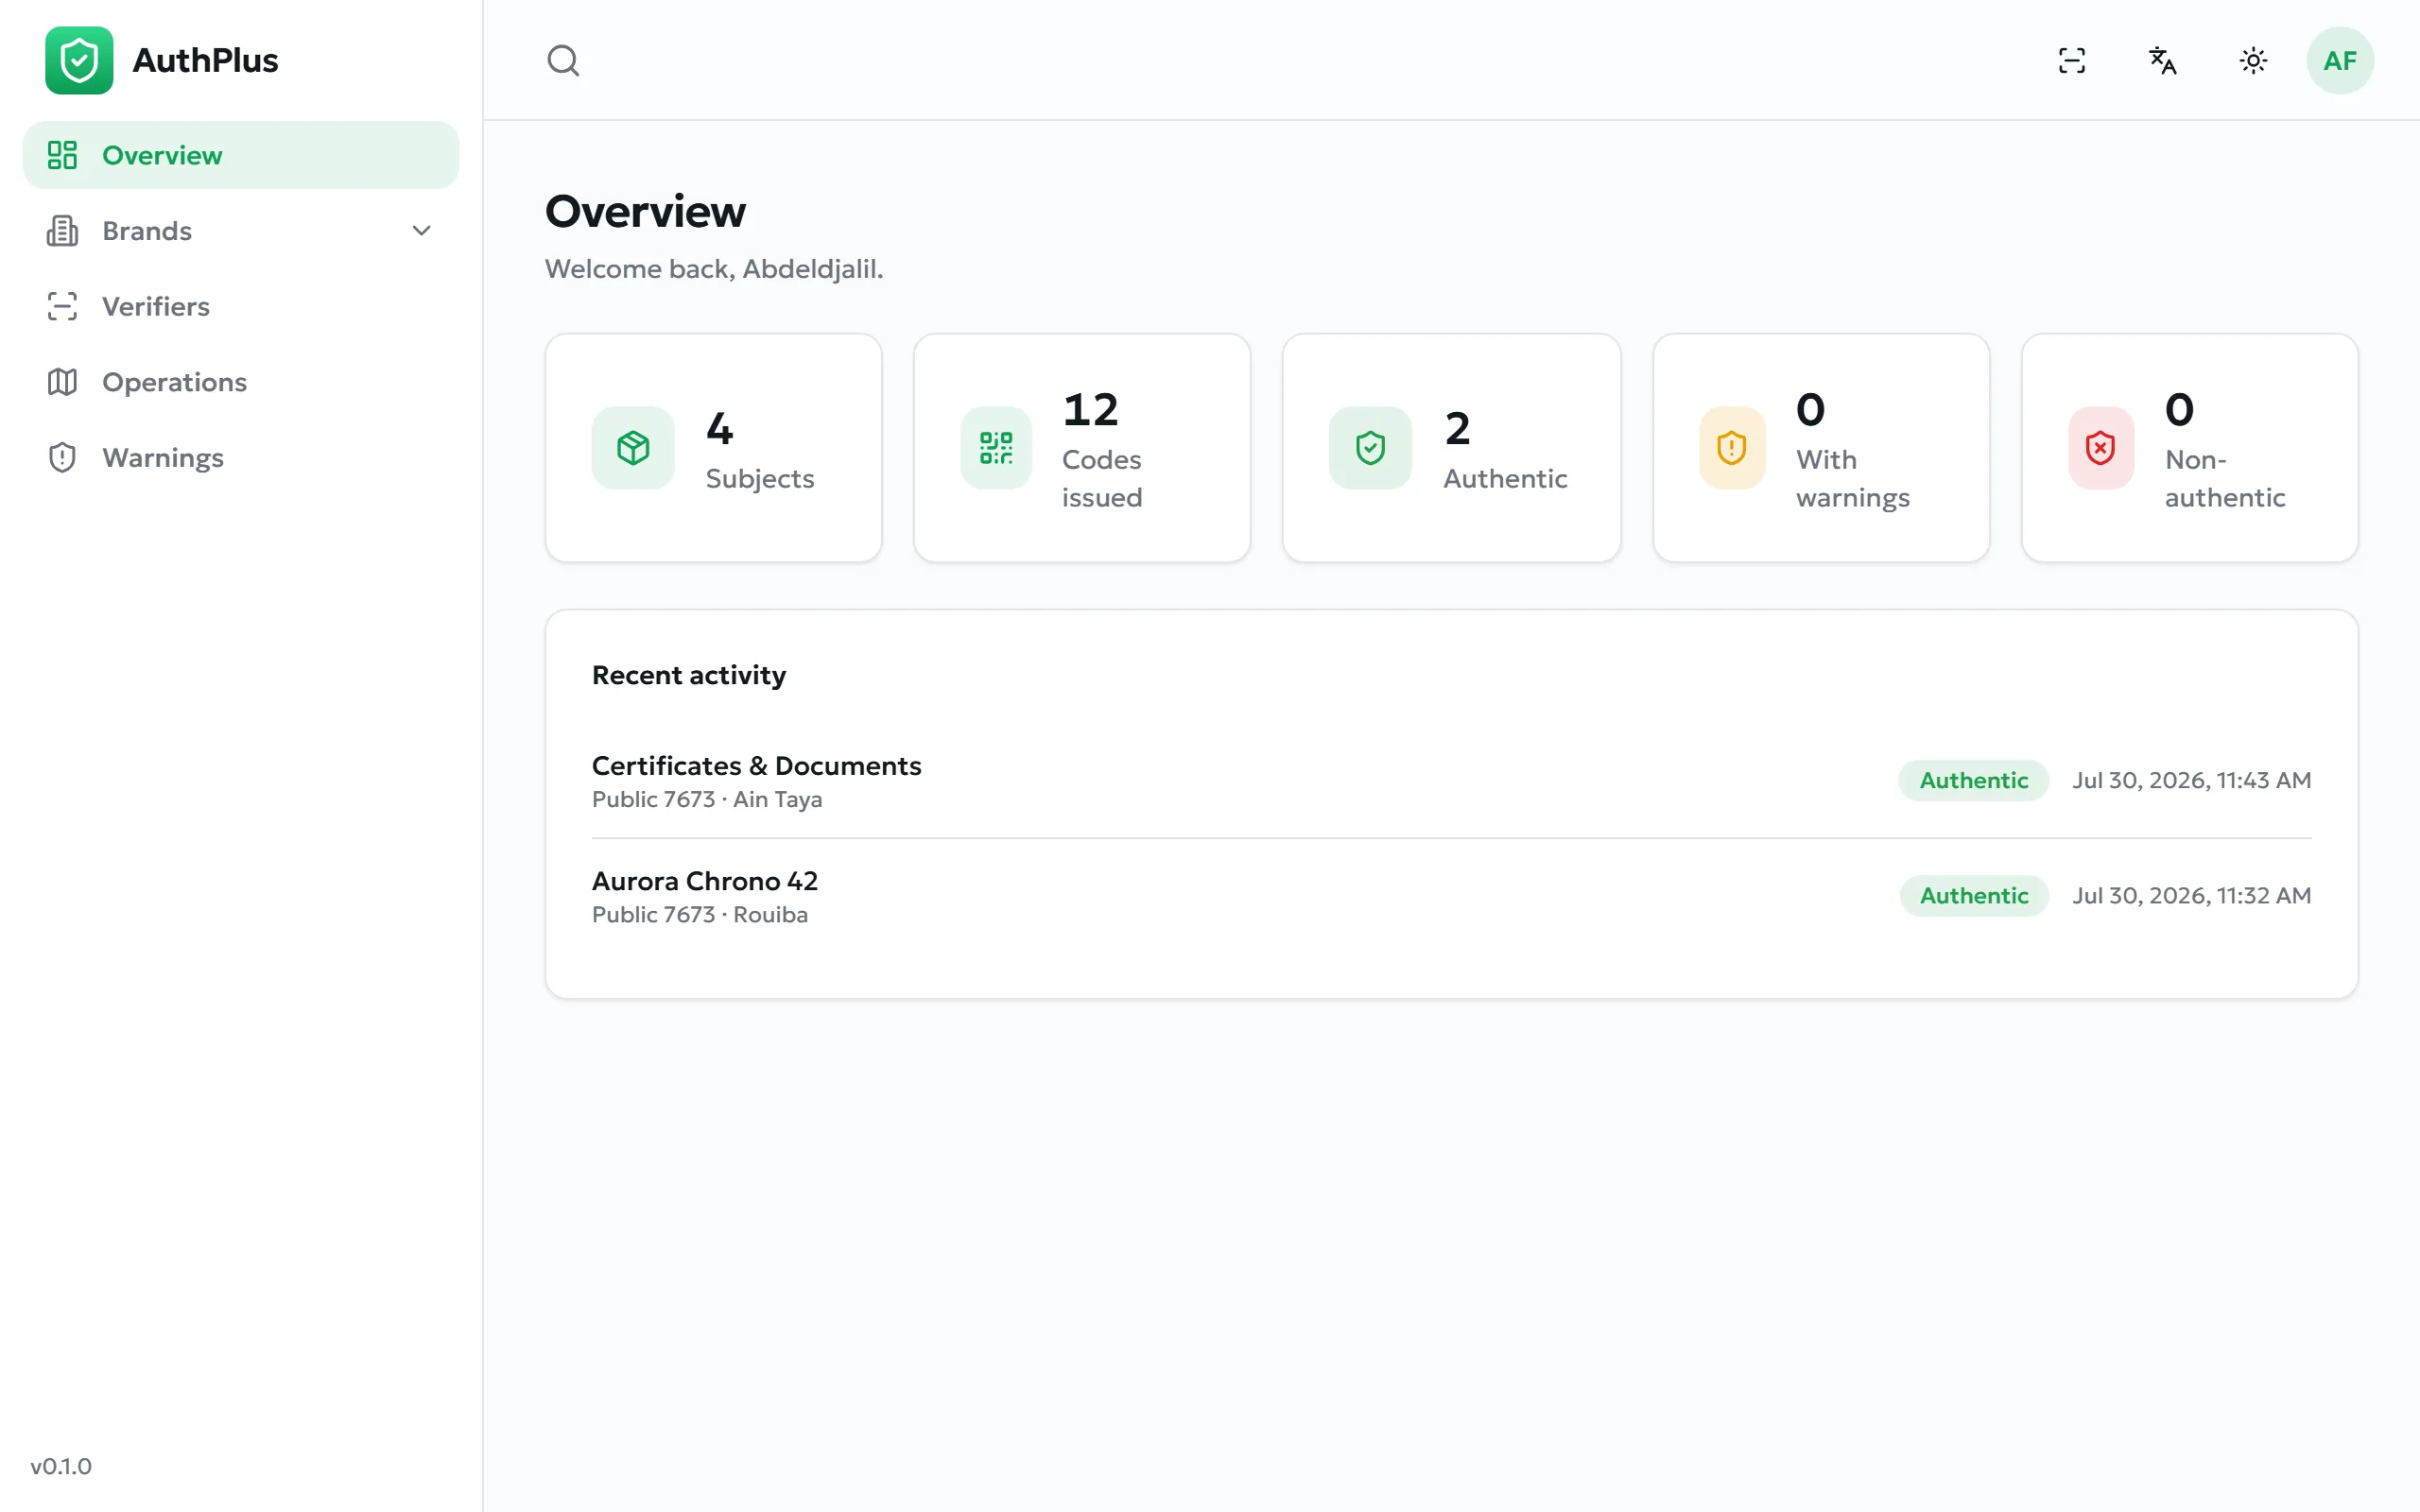
- You land on Overview: live counts of subjects, codes issued, authentic scans, warnings and failures, plus recent activity.
- Set your timezone in Profile — every date in the dashboard follows it.
From brand to printed codes
Section titled “From brand to printed codes”The core workflow, in four steps:
- Brands → New brand. Add a logo, and request the verification badge — once an administrator approves it, customers see a green check beside your name.
- Products → New: name it and pick its brand. (Assets and Contents work the same way.)
- Open the product and add an item — your own batch reference, dates and unit value.
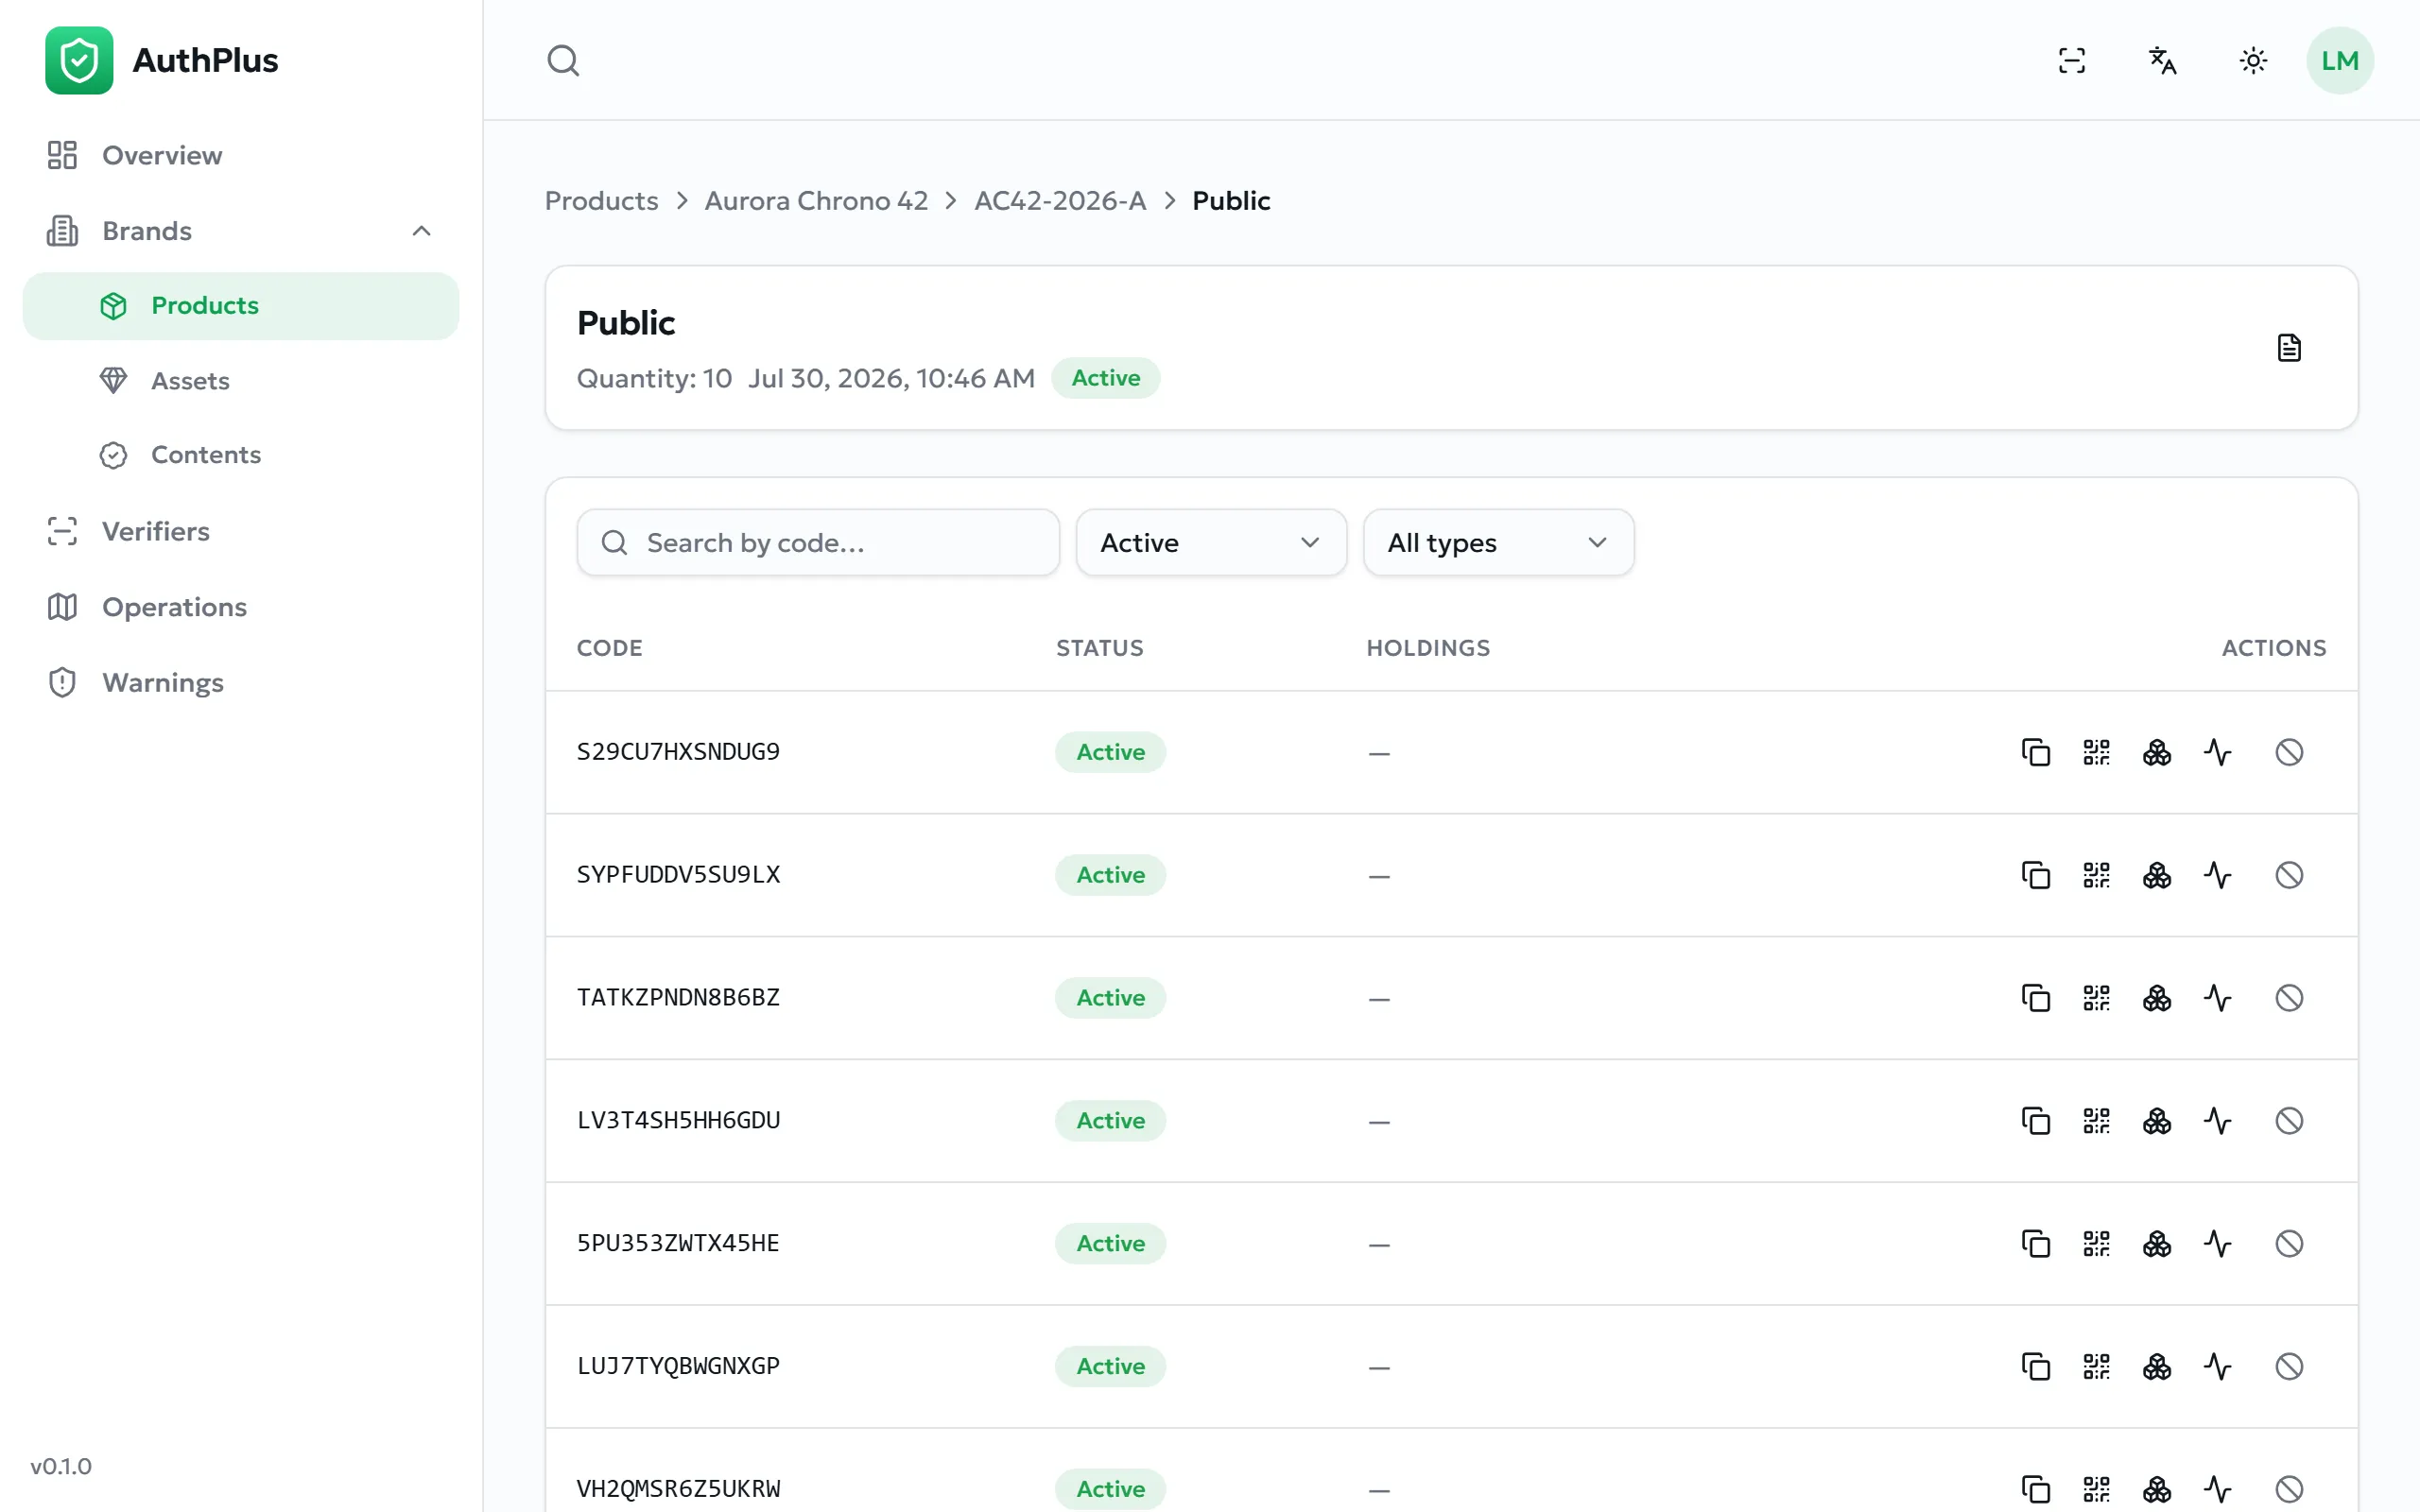
- Open the batch and choose Issue Codes: pick the code type and a quantity between 1 and 1000. For contents, upload files instead — each file becomes one certified code.
Print the labels
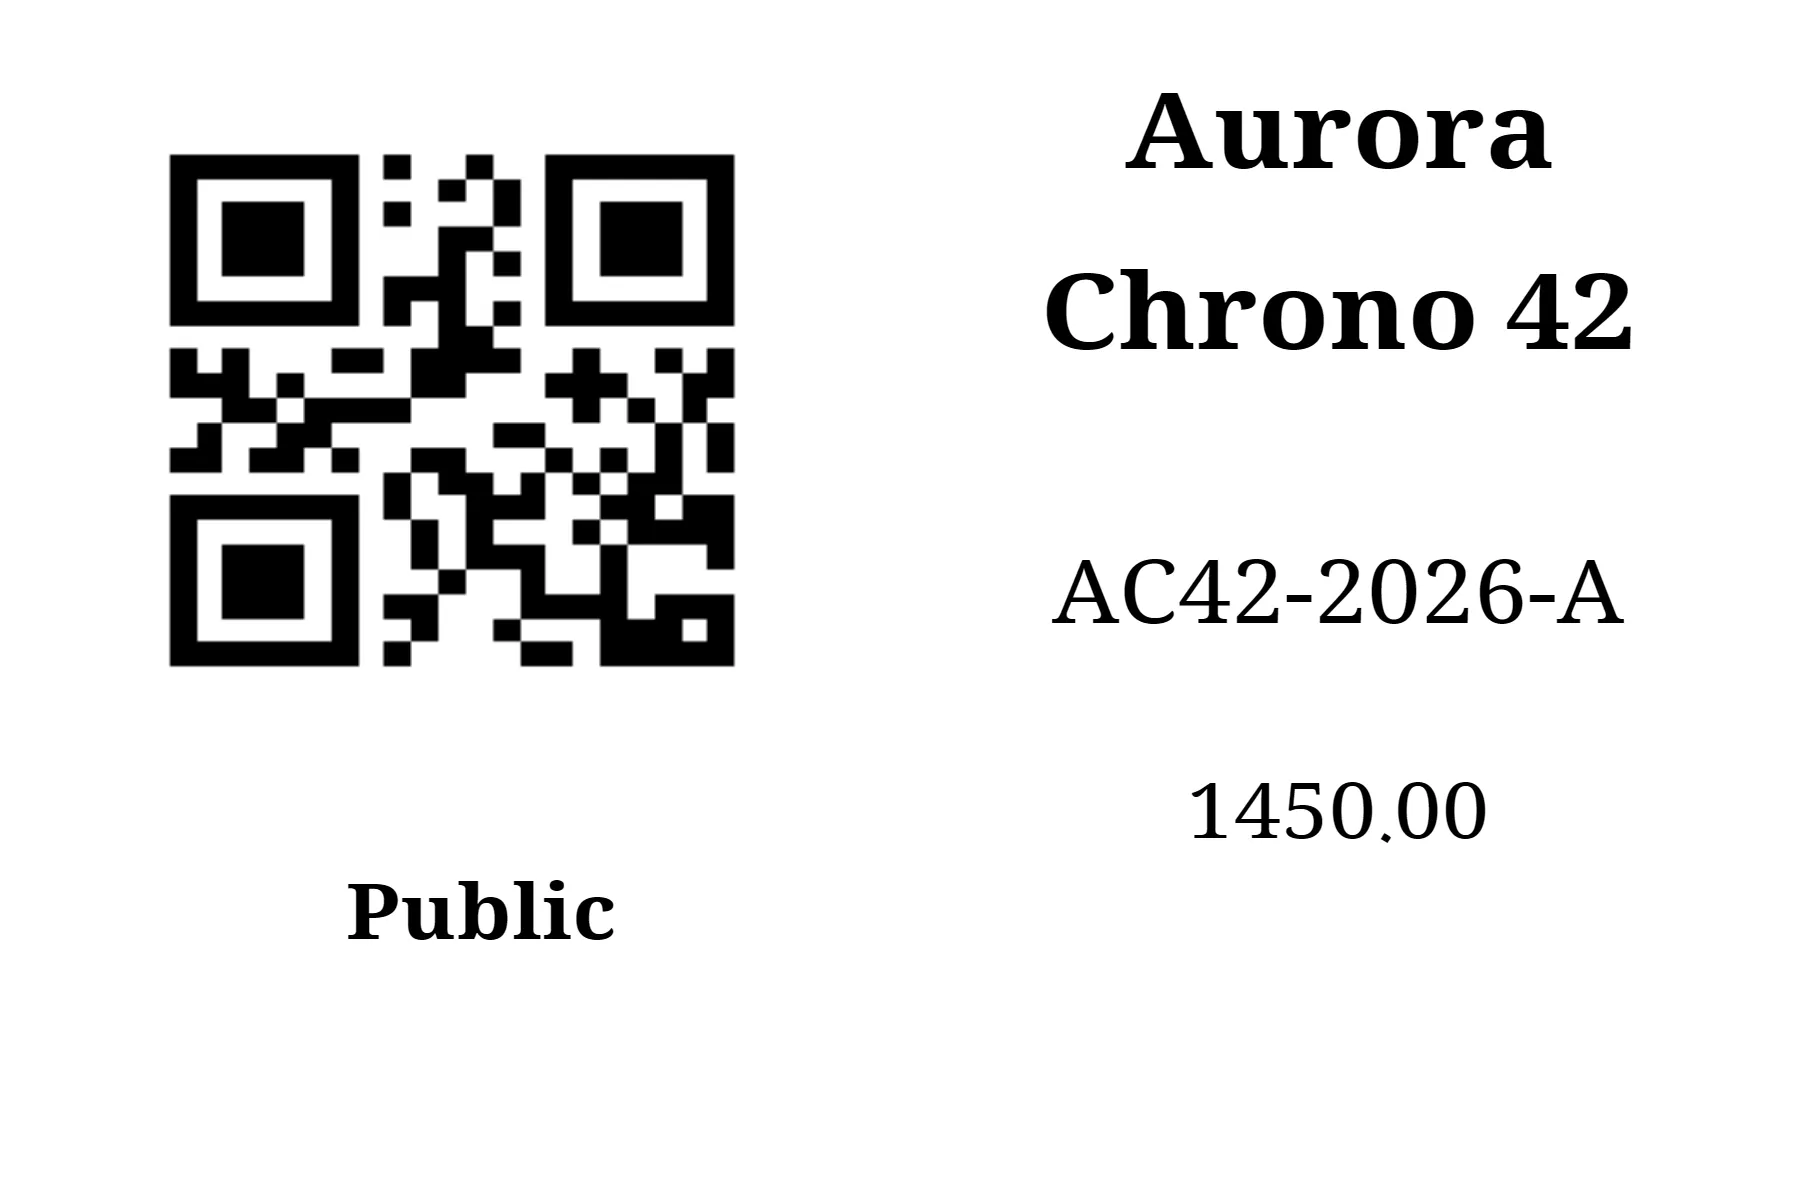
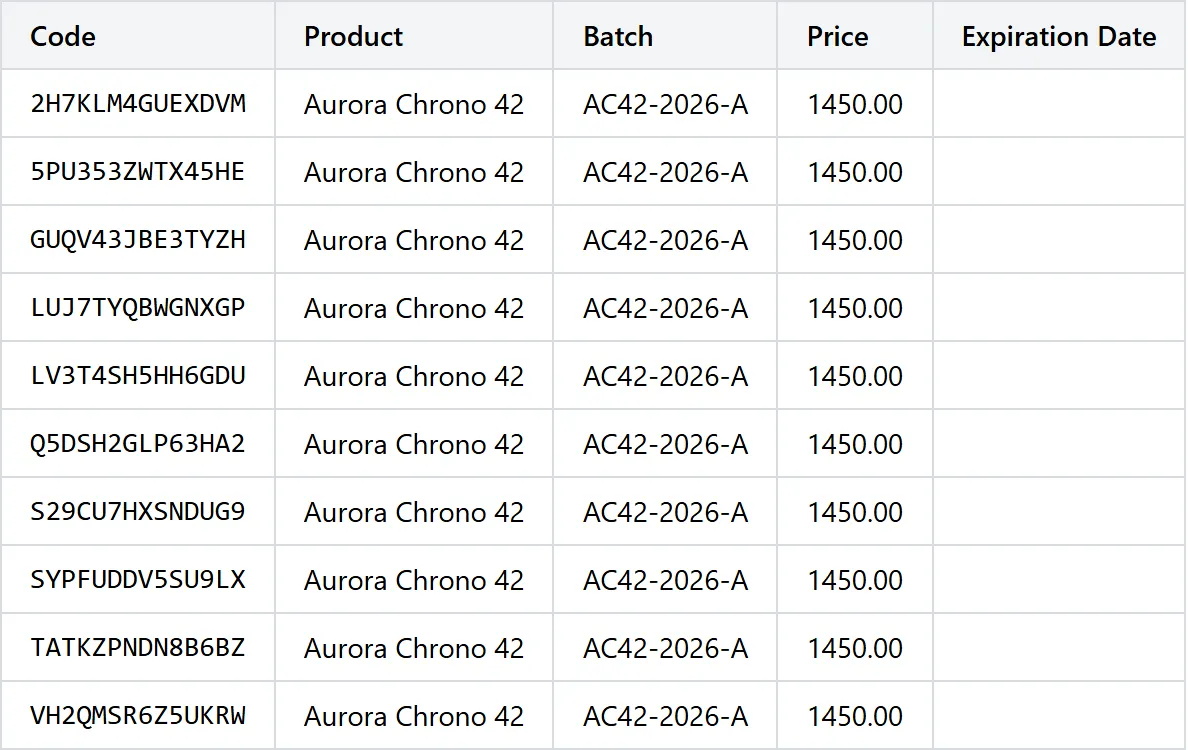
Section titled “Print the labels”Open the issuance and choose Documents. Generate a PDF — one sticker per code, with QR, product, batch, price and expiry — or a CSV listing every code for a printing partner. Both are available per language and stay downloadable afterwards.
Watch what happens
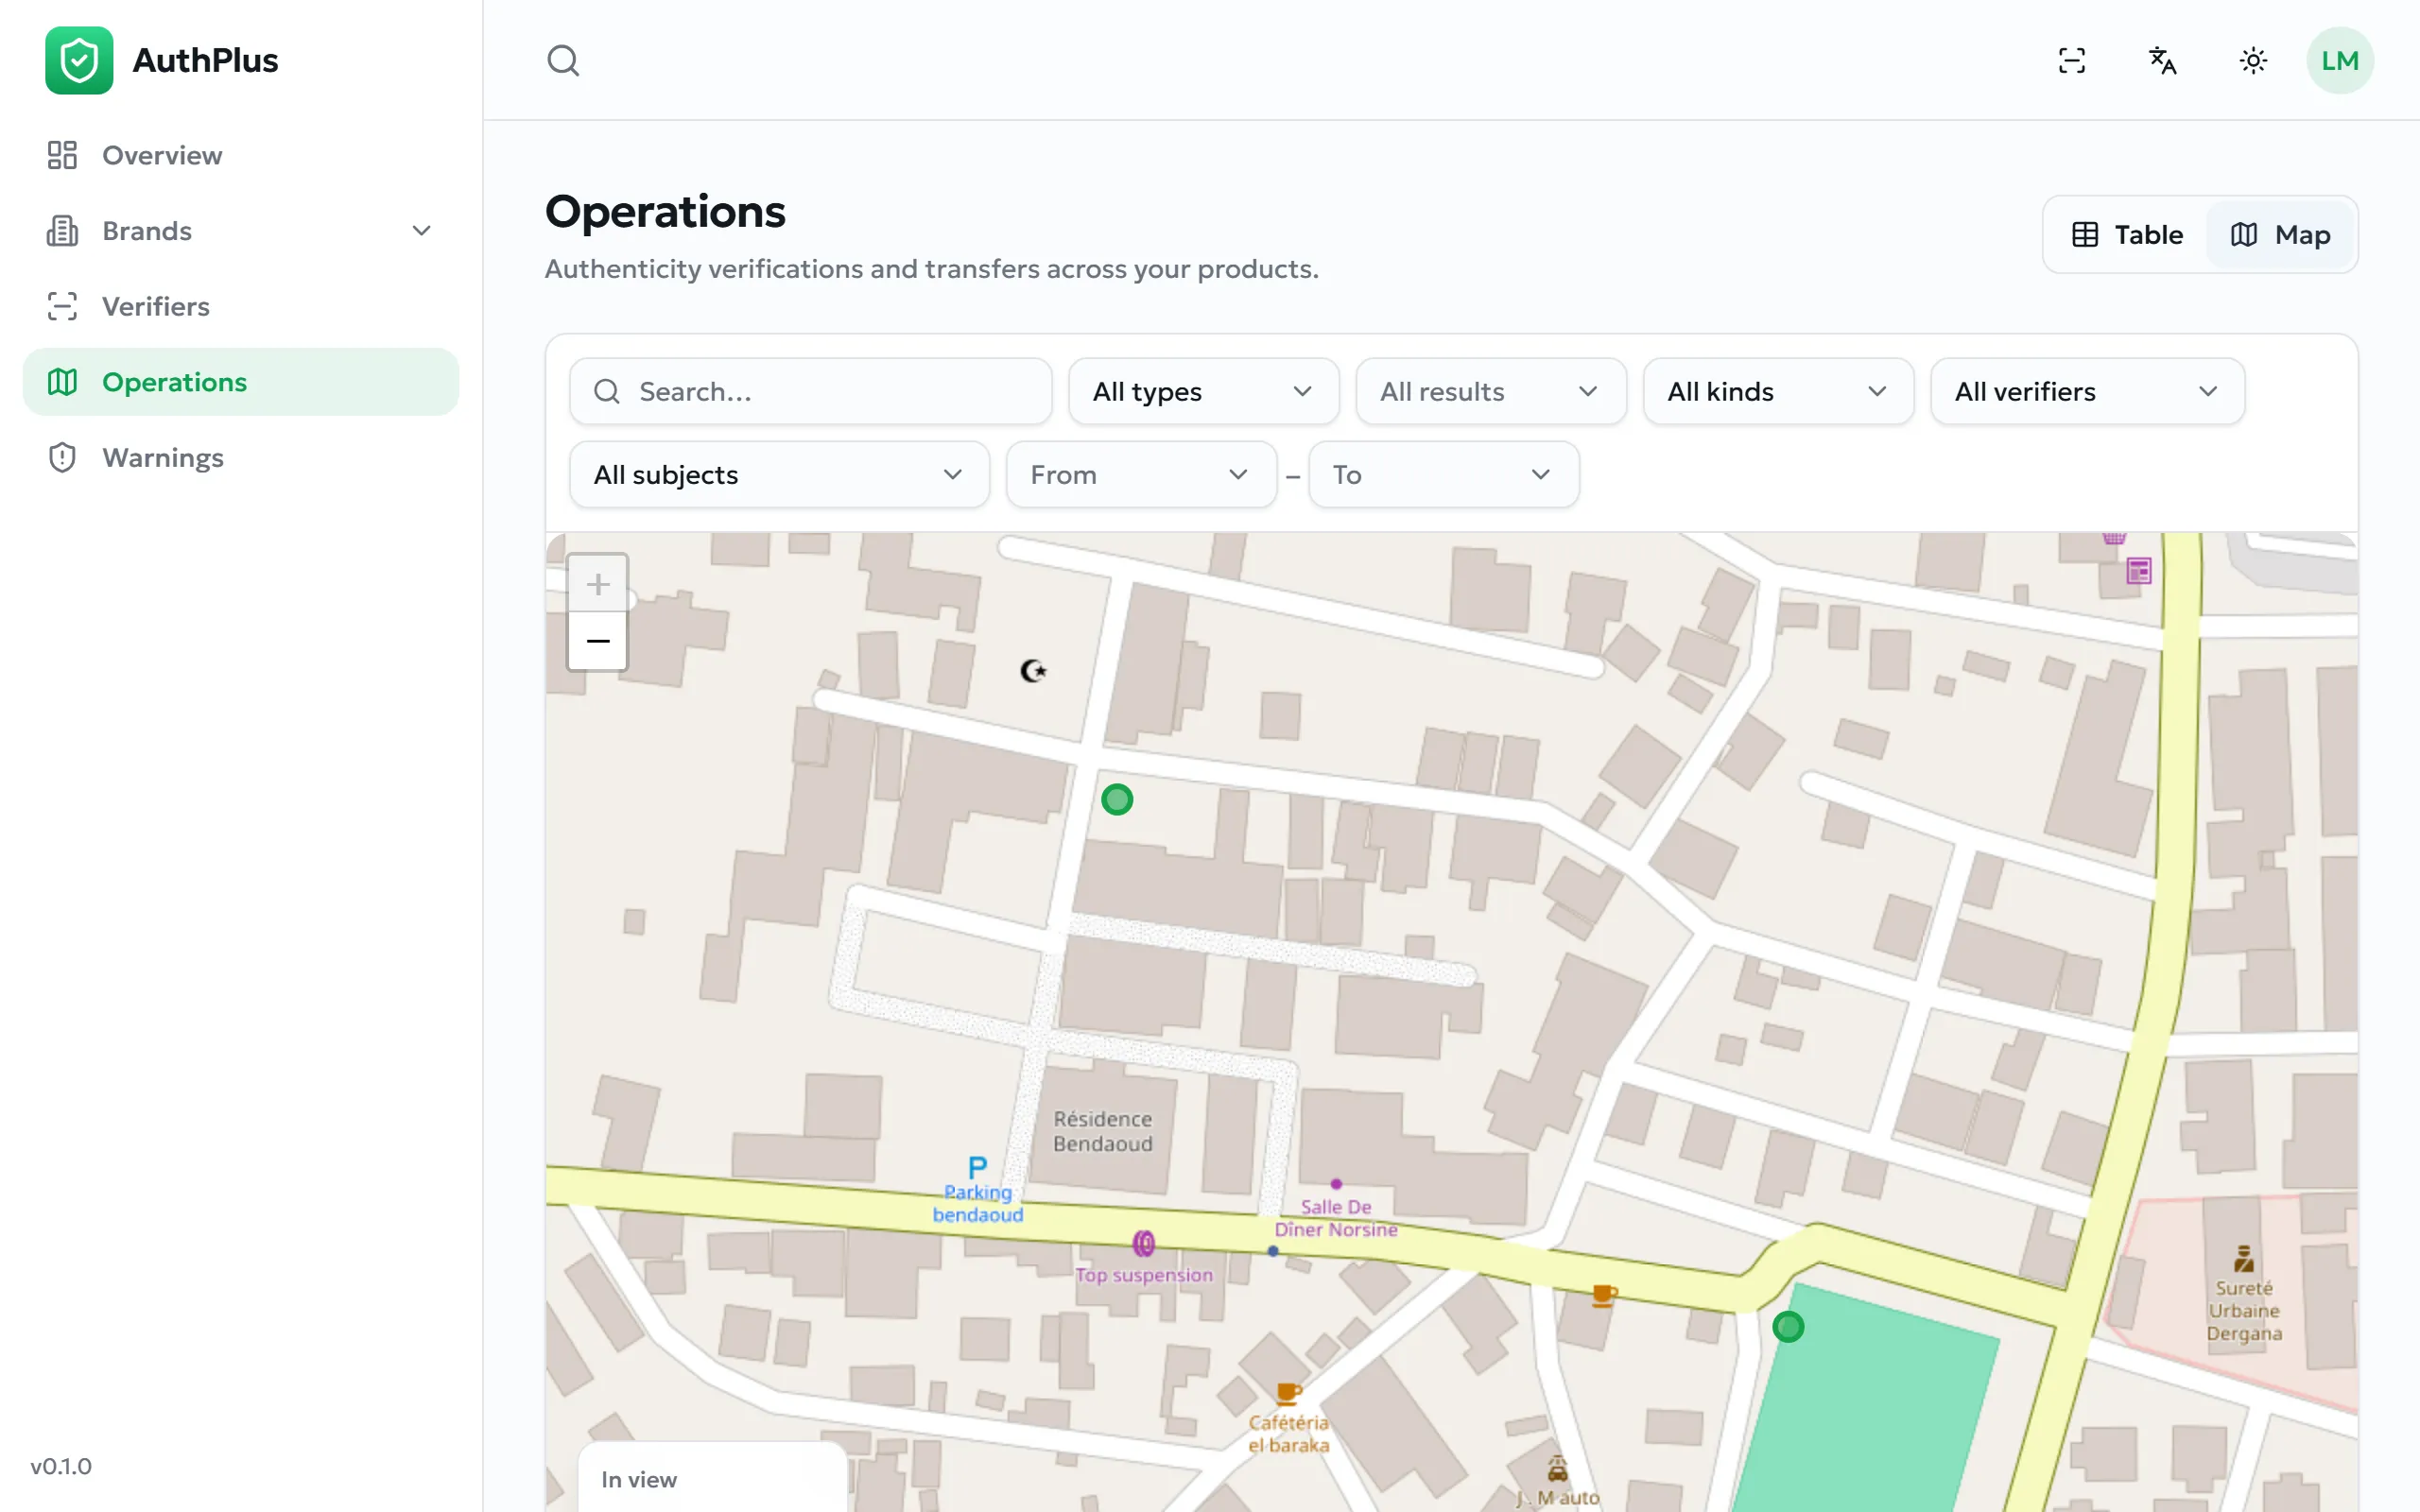
Section titled “Watch what happens”Operations lists every verification and transfer — who, when, what result and where — filterable, and plottable on a map. Look for clusters of failures in places you do not sell.
Warnings flags codes verified more often than the ceiling you set in Profile (25 by default). Review each one against Operations, then Dismiss it if the activity is legitimate, or Block the code — which archives it, so it stops verifying at once. Both decisions can be reverted.