Verifying a product
The core task: confirm that an item in your hands is genuine.
Scanning a QR code
Section titled “Scanning a QR code”Prerequisites. A verifier profile must be active, the app needs camera permission, and you need an internet connection.
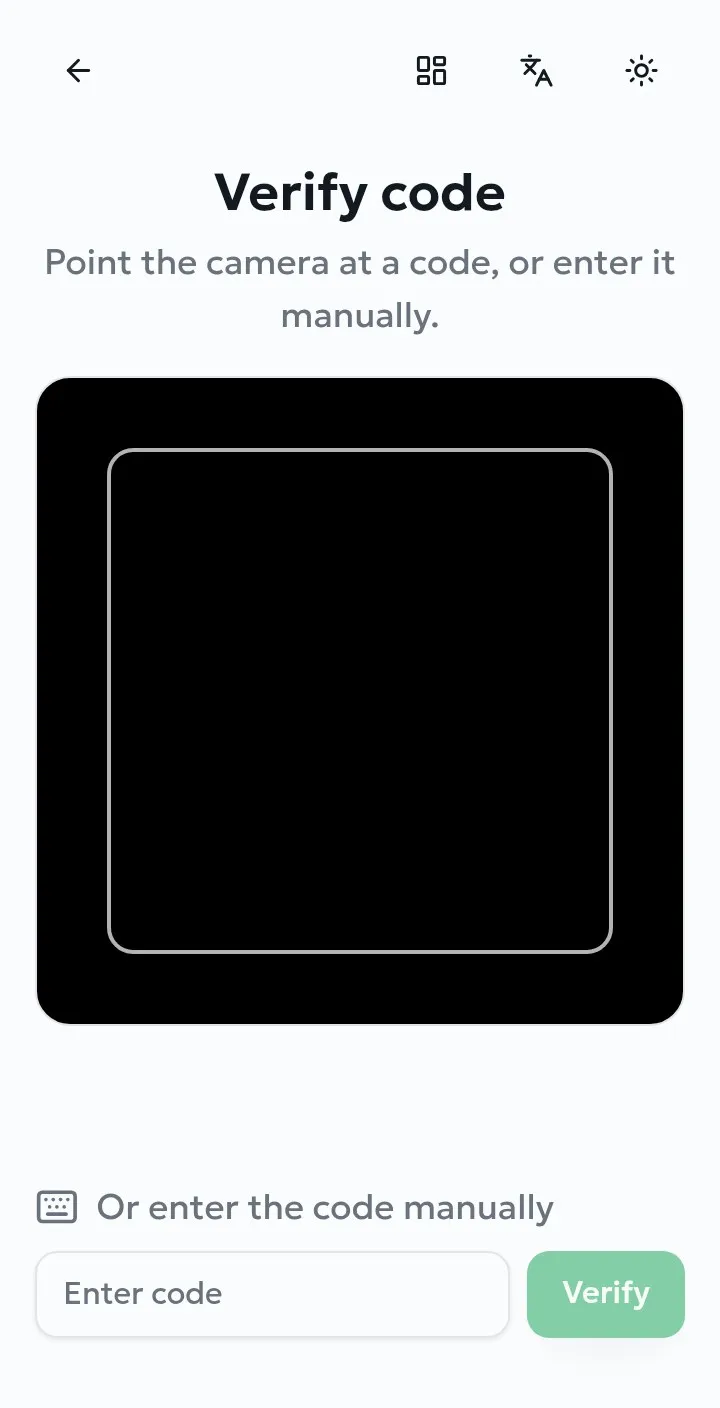
- Tap Verify code.
- Allow camera access the first time you are asked.
- Hold the code inside the frame. Recognition is automatic — there is no button to press.
Entering a code by hand
Section titled “Entering a code by hand”Codes are always printed as text next to the QR symbol, so a damaged, dirty or badly lit code can still be checked. Type it into Enter code at the bottom of the scanning screen and select Verify.
Reading the result
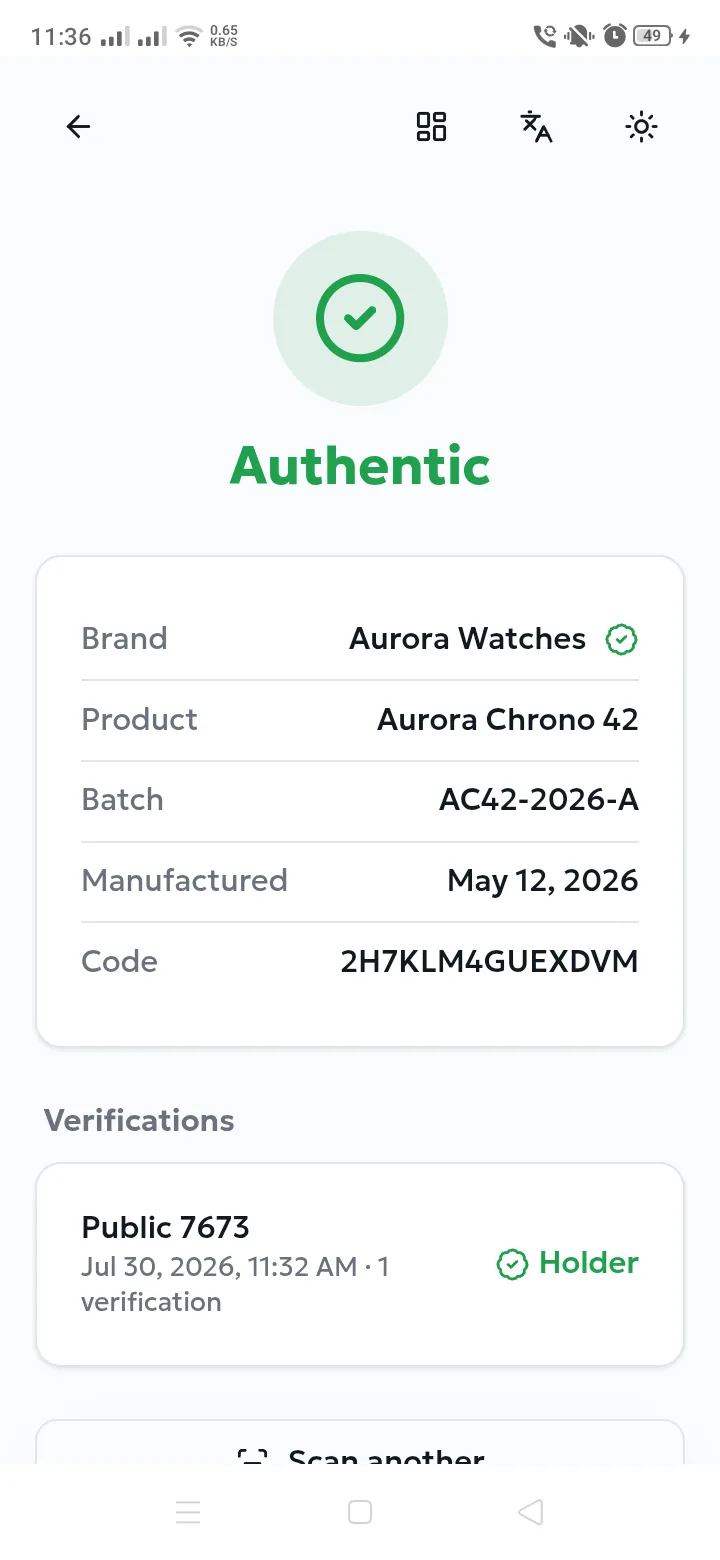
Section titled “Reading the result”A product verdict screen shows, from top to bottom:
- The verdict — a large coloured icon and word.
- Brand, with a green check if the brand has been verified by AuthPlus.
- Product, Batch, and the manufacturing and expiry dates when the brand recorded them.
- The Code itself.
- Verifications — the item’s scan history, each line naming the verifier, the date, the number of checks, and marking the current Holder if there is one.
- Scan another to return to the camera, and Transfer when you are the holder (Transfers & custody).
When location is required
Section titled “When location is required”Some professional profiles require the device’s position before a scan is accepted, so that inspections can be situated. If location is switched off you are shown Unable to retrieve your location. Enable location and try again. with an Enable location button.
- Select Enable location and accept the system prompt.
- If you previously denied the permission, grant it in the device settings for AuthPlus.
- Go outside or near a window if no fix is obtained indoors, then scan again.