
Issuing codes
Minting the codes that will be printed on your goods.
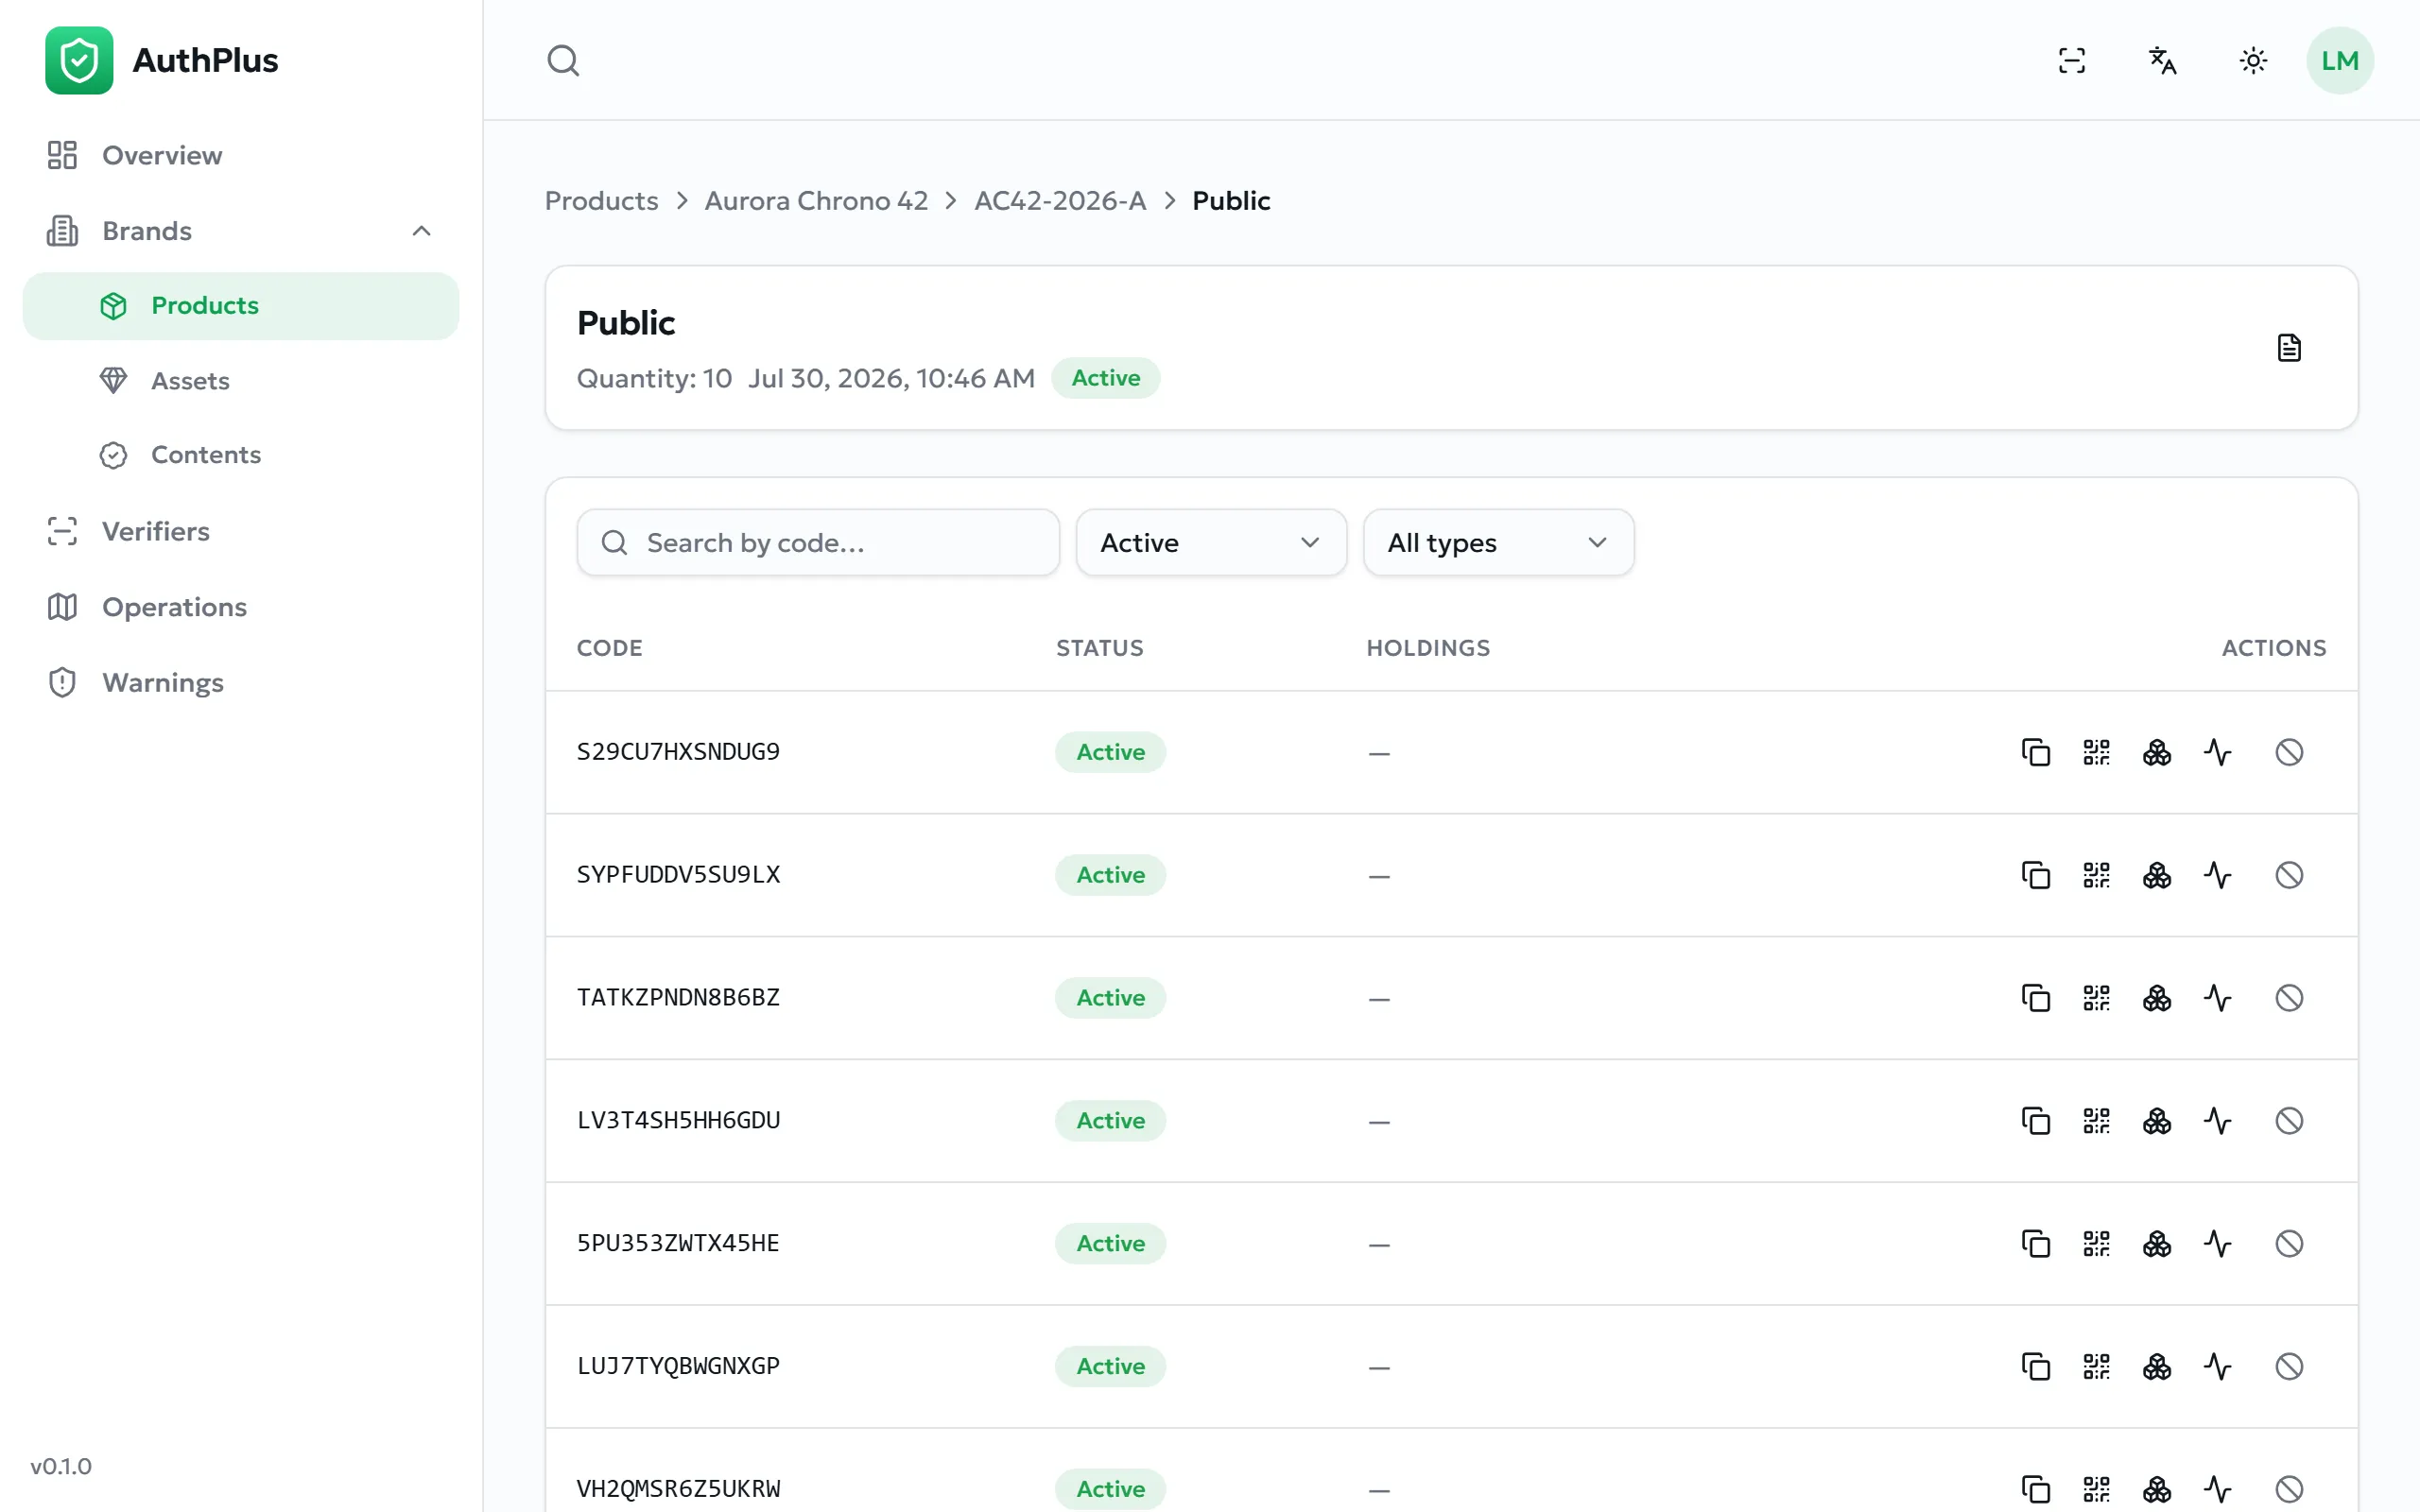
Issuing codes for a product or asset
Section titled “Issuing codes for a product or asset”Prerequisites. A brand, a subject and an item must already exist.
- Open the batch (or asset item) and select Issue Codes.
- Choose the Code type — Public for anything a customer will scan.
- Enter the Quantity: between 1 and 1000 codes.
- Select Issue.
Expected result. The issuance is created instantly with that many unique codes, listed and ready to view, download or print.
Common errors
Section titled “Common errors”| Message | Resolution |
|---|---|
| Quantity must be between 1 and 1000 | Split larger runs into several issuances. |
| Item and authcode type are required | Select both before submitting. |
| File subjects require uploaded files; products and assets require a quantity | You are issuing for a content item — upload files instead of entering a quantity (Issuing codes for content). |
| Object storage is not configured | A server-side setup problem. Contact your administrator — see Troubleshooting. |
Issuing codes for content
Section titled “Issuing codes for content”- Open the content item and select Issue Codes.
- Choose the code type.
- Select the files to certify — up to 1000 files at a time, each up to 8 MB.
- Select Issue. The count of files is shown before you confirm.
Expected result. One certified code per file, each bound to that file’s fingerprint.
Working with individual codes
Section titled “Working with individual codes”Open an issuance to see its codes. Each row offers:
| Action | What it does |
|---|---|
| Copy code | Copies the code text to the clipboard. |
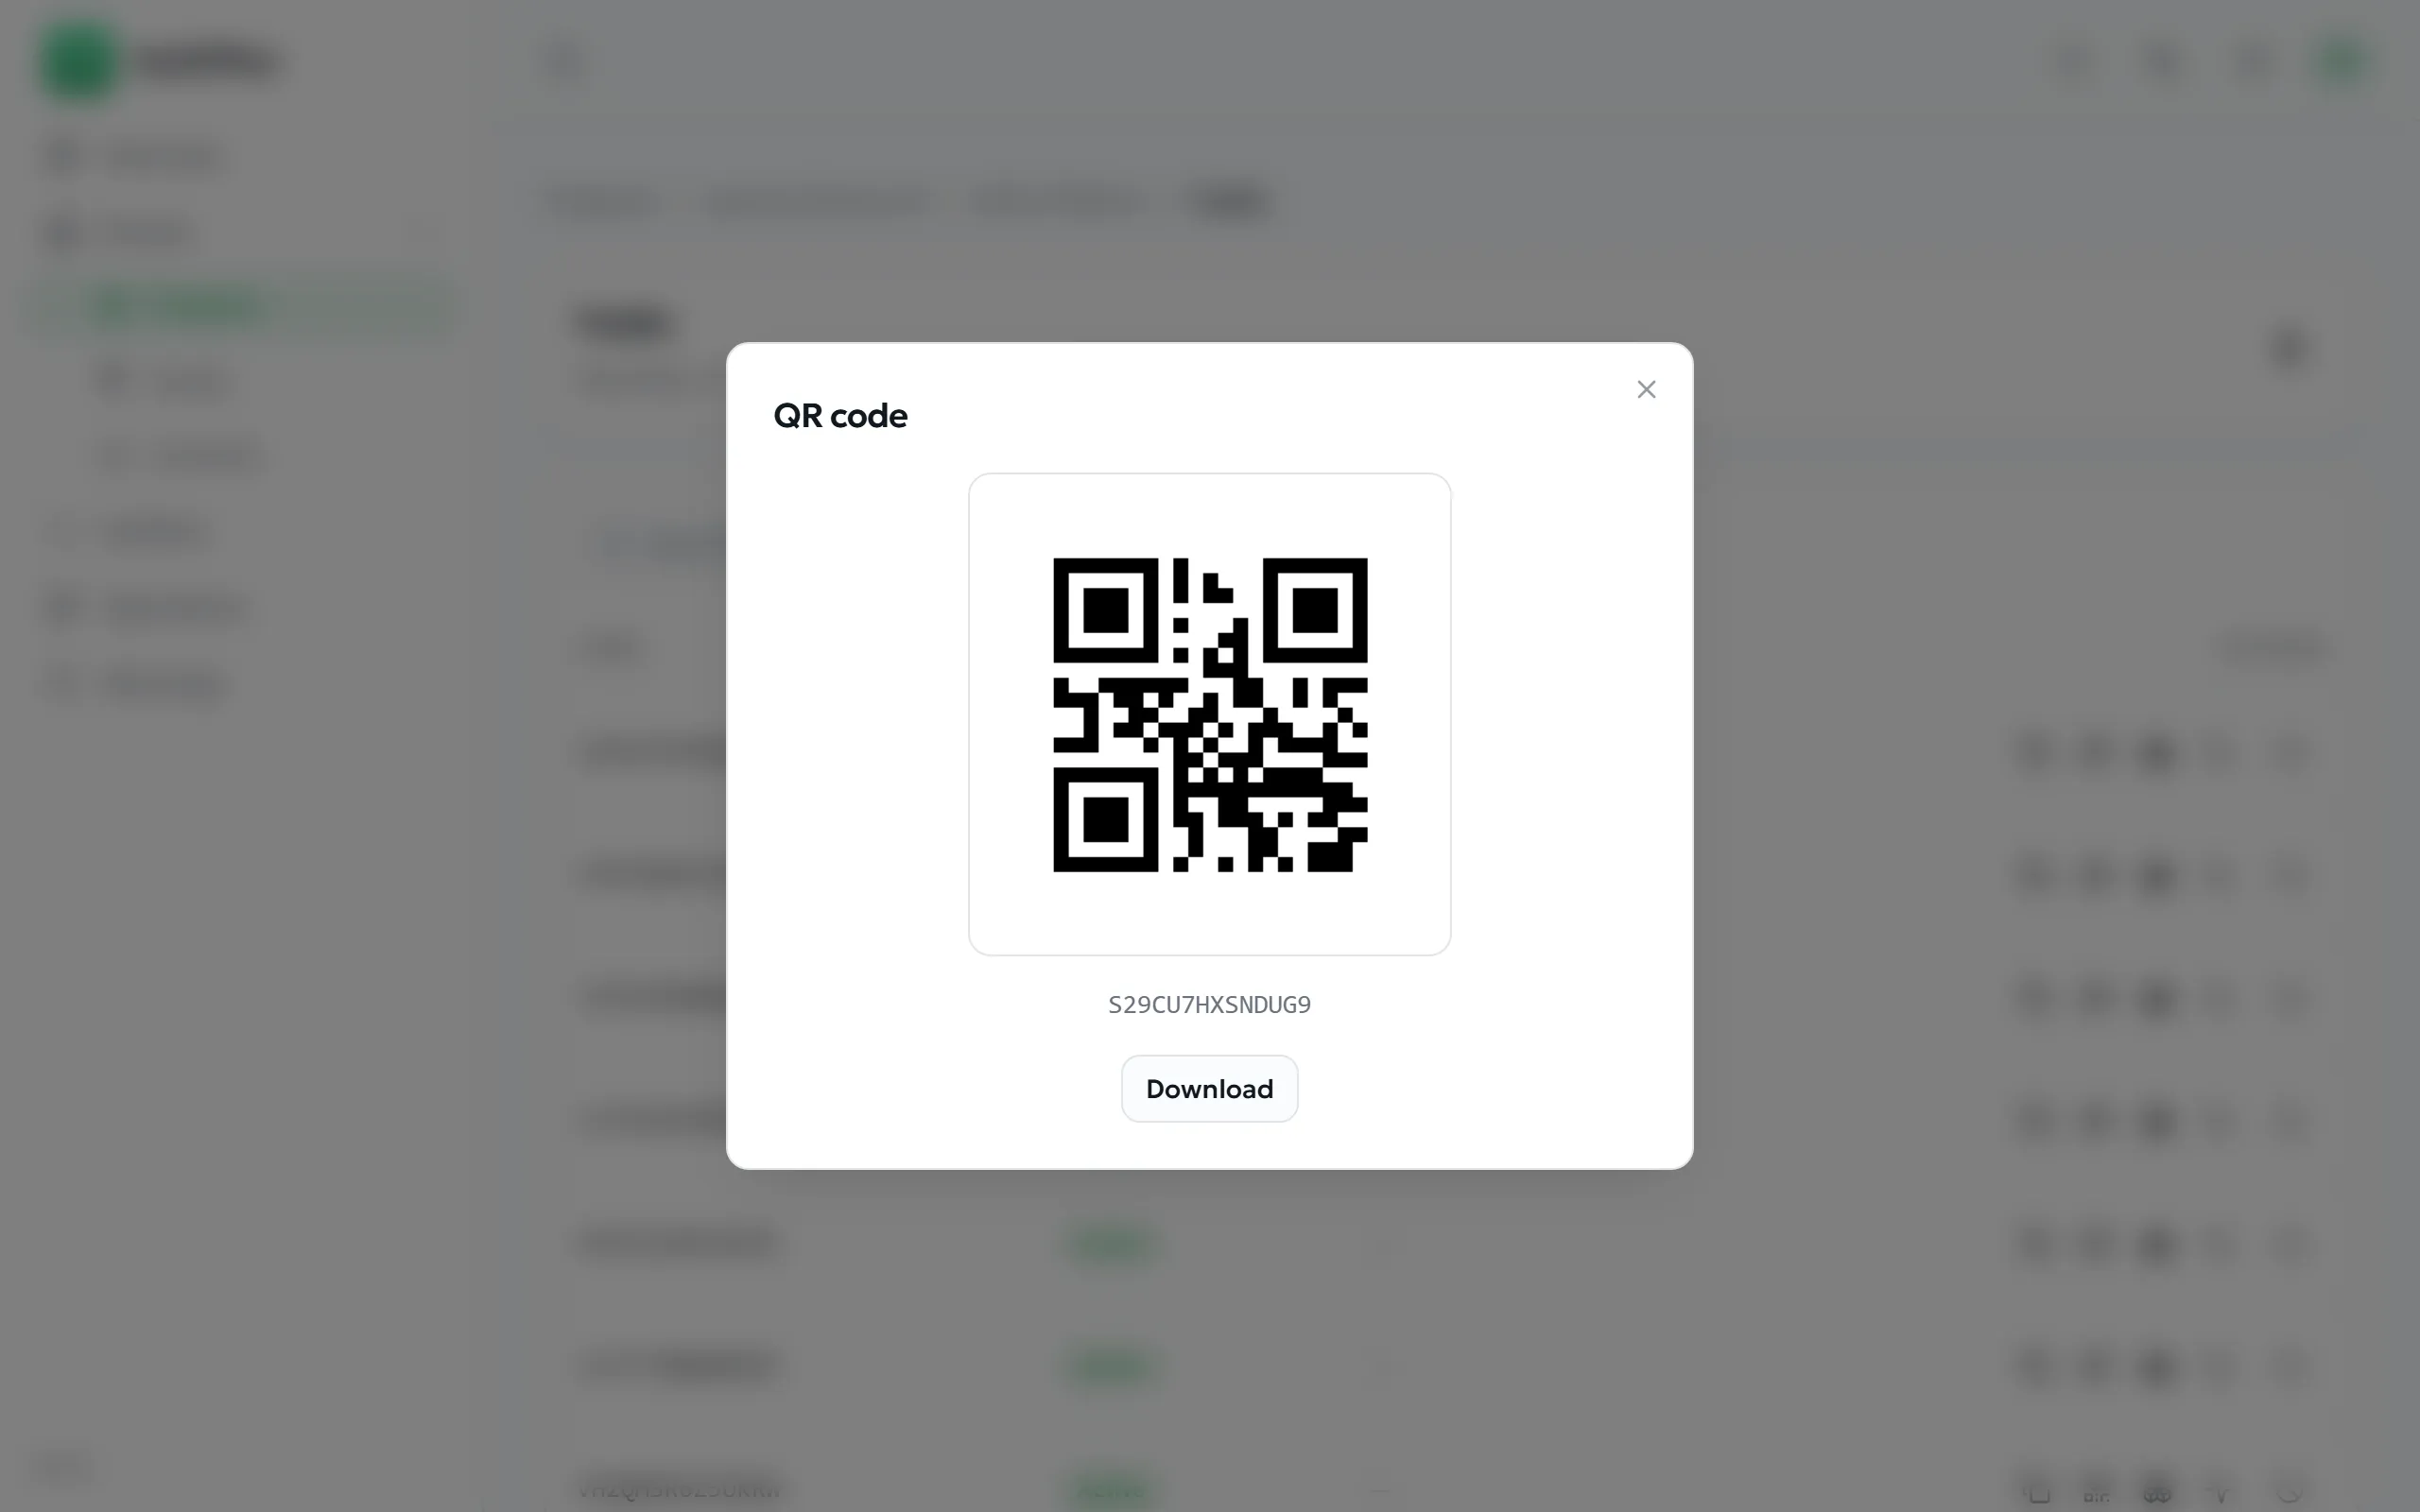
| QR code | Shows the QR image, with a download button for a single label. |
| Holdings | Shows which verifier currently holds the item, and since when. |
| Operations | Every scan and transfer recorded for this one code. |
| Settings | Code configuration, including ownership transfer for assets and contents. |
| Archive | Stops this single code verifying, without affecting the rest of the batch. |
Transferring ownership of a code
Section titled “Transferring ownership of a code”Purpose. Hand an asset or a certified document to another AuthPlus account — for example when a valuable is sold to a collector who has their own account.
- Open the code’s settings from the issuance list.
- Enter the recipient’s AuthPlus account email under Transfer ownership.
- Confirm.
Expected result. The code moves to the other account, which can then manage it. The movement is recorded and contributes to the provenance count shown on the certificate.